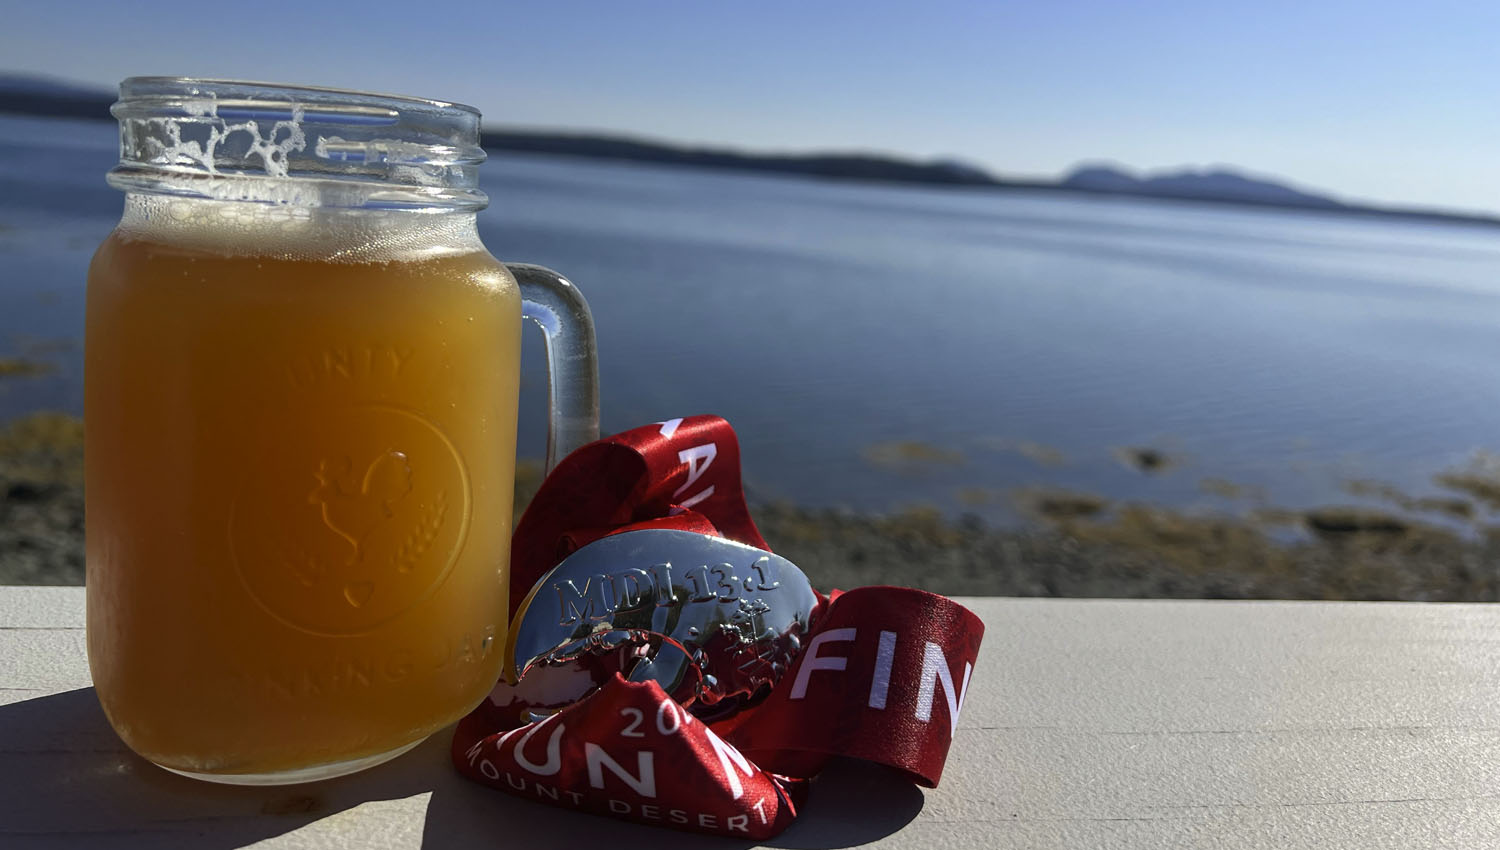
Over half a year later, there are still a lot of us who have tree damage from the October storm of 2011. One of Scott and Anne's trees in the front really didn't make it and they've wanted to take it down. After a good 3-4 months of convincing Anne that we could do it ourselves, we finally got the green light yesterday and went to work.
For some strange reason, my grandpa entrusted me with a chainsaw when I was about 14-15 years old working on his farm. All the way through high school, it was no big deal to go cut down a tree that we needed to remove. With this, I became the lead expert for taking down trees since neither Scott or AP had ever done it before.
So I brought my chainsaw over and we basically had four major limbs to cut down. The first two went extremely fast and soon we saw we were half way done. The only bad part is that we left the two toughest ones for last. The third one was growing in a weird angle, so Scott and AP pulled on some rope while I cut the limb above my head with the chainsaw. Probably something that you're not supposed to do, but it easily came down.
Then came the last limb ... Coming into the day, we all knew this would be the toughest one. The entire limb was leaning towards the house. So if we don't cut it down correctly, it could easily fall into the house taking out some windows, gutters, etc. If we lean it too much to the left, we run the risk of it falling into the good tree in the yard or hitting the power lines. If it falls too far to the right, there is the possibility that it hits the house next to them.
Basically, it's a tough situation, and we have to get it right. After playing catch with a wrench tied to some rope, we finally hook the tree where we want. AP and Scott pull the rope towards the road while I start making a V notch and cutting it down. Once I cut through the tree, it starts to bend back towards the house and basically the only thing keeping it upright was AP and Scott holding the rope ... that is until Scott decides to let go leaving AP the only person protecting the house from imminent danger and destruction.
With feet dug into the yard, he somehow manages to keep hold of the tree until we get four people on the rope to finally break it towards the street.
Once the last limb is on the ground, it's basically clean up time. We kept chopping it up and stacking it with everything else in the driveway leaving us with a 3-4 foot stump. Thinking this is probably a little high to grind down, we let AP take the last go at it and he definitely delivered.
Way back in 3rd grade, we had a fake wedding in Disney World, and who would have guessed that it would turn into what it is right now? Today, the wife and I are happily celebrating our five year anniversary.
Here's to another year for keeping the promise on the inside of our rings!
To do what I'm currently doing, you have to toe the line somewhere between being a perfectionist and being bat sh*t crazy.
Two years ago, the wife generously allowed me to see if I could try digging out a big hole and building the patio myself. For the first try, and really having no one to talk to about what the hell I was getting myself into, I did an alright job. However, I had a time crunch trying to finish everything before our annual 4th of July party, and definitely created some shortcuts for myself that I'm paying for now. In the two years that have followed, the patio has gradually sunk in a few spots and looks "wavy" in others.
Even looking at the old picture, you can definitely tell that it's not straight. So, how does one fix this? Yeah, sure, I could hire a professional ... that's the easy way out. Let's rephrase the question: how is Brian currently fixing this? Picking up each paver individually, leveling it and relaying it.
When I originally built the patio, it was a lot easier (and faster) to have a step-down from where I put pavers over the concrete to the main block below. This time, I'm raising everything up (each paver at least 3") so that everything is level. I'm glad I decided to do this as everything flows together now.
Right now I'm about 2/3 of the way finished and it actually looks really good. It's definitely time consuming, but I figured that's the trade off for doing it the right way. The goal right now is to be done before I'm 28, so be sure to cross your fingers along with me.
This manual process sucks, it's hard work, and if it ever sinks again, we're either hiring a professional ... or moving.
Since I've been getting into brewing my own beer lately with Scott, naturally we started small with extract kits and then decided to dive right in with the more experienced process. This means to go to all-grain brewing where we need to use a mash tun. A mash tun is basically a vessel that combines the grain and hot water for a long period of time to extract the sugars from the grain.
Looking around on the internet, pre-made ones can be a little expensive, but there are a bunch of people online that are just creating their own. Christi and I have two reg igloo coolers, both without spigots on them, and have always wanted to get rid of these and get ones that have a drain on the end. Since I have the cooler, and I'm a DIY type of guy, I just dove in head first.
Looking at what others have done online, most use a manifold in the bottom to suck the water out. Basically it's a weaving of CPVC (so it can withstand more heat than PVC) with a bunch of small slits in the bottom so only the water passes through and the grain doesn't get stuck. Knowing this, I figured that 1/2" sections of CPVC would be wide enough for the water flow.
To connect the inside to the outside, we need to drill a hole. Since our inside connection is 1/2", a 3/4" bit was the absolute perfect size to use. Obviously, start small and work your way up since you can always expand it, but you can't ever make the hole smaller.
The toughest part was figuring out how I would drain the water, while connecting to the CPVC inside the cooler (without producing a leak). I bought a 1/2" ball valve, 1/2" female barb adapter (to drain the water on the outside), 1/2" brass nipple and a 1/2" CPVC female adapter to connect everything together.
In the picture above, it goes (from left to right): Barb -> Ball Valve -> Nipple -> CPVC Adapter. Make sure when connecting everything to use some teflon tape for secure connections. To get a secure, water tight fit, I used a rubber washer for garden hoses. I knew I needed something of the sort, and in my head, this seemed to be the best fit .. and it was.
The final step was creating the CPVC structure that you see in the top picture. Basically I cut 4" sections at a time, with a Dremel drill, and then used the same drill to create all of the tiny slots in the bottom.
Once everything is assembled, the last thing to do is pray that the water doesn't leak out. Everything is always perfect in your head until you actually try it. Luckily for me, I filled up the cooler with about 130° water and it all stayed on the inside. The last modification that I need to do is add some sort of weight inside my back piece of the manifold so that it doesn't float up when water is in there.
Check it out, everything magically worked and only took a couple of hours to put together:
At least in my department, there truly is no better day of year to be working at ESPN than the first day of the NCAA Tournament. I'm watching four games at once combined between my TV and two monitors. Along with that, we have enough food today to feed a small army.
After a month-plus of working on tournament related stuff, it's fun to sit back, relax and enjoy all that is the NCAA Tournament.
A few months ago my parents told me they were heading down to Orlando with Gma for a conference and wanted to know if Christi and I wanted to come down for a few days. Since the two of us haven't been there together since we got "married" in 3rd grade (yeah, that's not a joke ... the ring is hanging from the rear view mirror in my car), we jumped on the opportunity to go back.
For those that don't know, ESPN is 80% owned by Disney and since we are under their umbrella, we get some pretty nice perks when we're down there. Once I found out how nice and cheap everything was, not to mention 90 degree weather in early March, I can't believe it's taken us over three years to go down there.
The first two days were pretty fun as we hit up Magic Kingdom and Epcot. Even though I hadn't been since 3rd grade, I still remember a lot of the older rides. Props to Disney for implanting that in kids' minds when they are of that age.
On our last full day, dad and Gma were in and out of conferences until the evening so mom, Christi and I packed in as full of a day as we could. We first went to the ESPN Wide World of Sports complex where the Braves have their spring training. Even though they were out of town that day, we were able to walk into the stadium and get a view of some minor leaguers play long-toss in the outfield. After that we went to Animal Kingdom for a few hours then made our way over to Hollywood Studios for another few hours before meeting back up with dad and Gma for dinner.
As always, vacations fly by faster than you expect, but Christi and I have already been talking about planning our next trip back down there. Huskers have a bye week in the middle of October ... any takers?
Last month Scott decided to do his first home brew out of his kitchen and I came over to help. Four weeks later after racking, bottling and labeling, we're only a few days away from trying it out.
Many thanks to Anne for designing the awesome labels that we will be using moving forward. We have an IPA fermenting away as we speak and are always looking forward to the next beer to make as is starts to get warmer out.
This past Saturday was our third straight year going to the Extreme Beer Fest in Boston and Boulevard was there to grace us with their presence.
I struck up a conversation with one of their employees and told him I was originally from Omaha and basically "grew up" on their beer. After a few minutes of Midwest hospitality, he let me know that they've started distributing to Springfield, MA. What does this mean? The next time I take/pick up Christi from the airport, I'll drive the extra 15 minutes into Mass. and score some Boulevard!
Other highlights included two separate knock-out PB&J beers, some exceptional tasty bourbon-barrel-aged brews and Sam (from DFH) rocking a Hartford Whalers shirt.
Not much went right in picking bowl games this year, except for the ones that I put the most confidence in. I can't ever remember a year where I got my top eleven confidence picks right in the same year.
Why chop the photo at 25? Well, let's just say there's a lot more red than green below it.
Ever since we owned our first house in Omaha, we've always had this wine picture up in either our living room or kitchen. We're really not sure why ... as the two of us aren't that fond of it. Don't get me wrong, it's a nice picture and all, but it's just not our style and doesn't go with the rest of our decor.
So instead of just tossing it away, selling it on Craigslist or crumbling it up for kindling, we decided to reuse it as a chalkboard. The first step was taping off the beveled edges to get ready to paint (for some reason, painting with this thing on the wall seemed to be the most logical choice).
The next step was to apply a few coats of adhesive primer so that no glasses or corks appear through the chalk.
Once the primer was dry, we put on two or three coats of chalkboard paint that we rolled out as smoothly as possible. Once those dried, we waited the required three days before rubbing chalk over the entire picture to get everything integrated with the paint.
After that was set, we erased what was on there and created a nice whimsical picture for the holidays: