Turning wine into chalk
19 December 2011
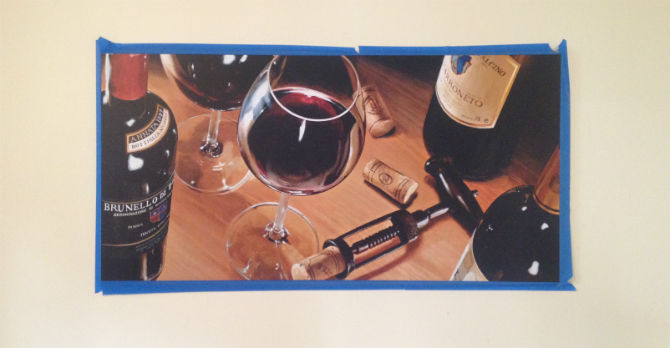
Ever since we owned our first house in Omaha, we've always had this wine picture up in either our living room or kitchen. We're really not sure why ... as the two of us aren't that fond of it. Don't get me wrong, it's a nice picture and all, but it's just not our style and doesn't go with the rest of our decor.
So instead of just tossing it away, selling it on Craigslist or crumbling it up for kindling, we decided to reuse it as a chalkboard. The first step was taping off the beveled edges to get ready to paint (for some reason, painting with this thing on the wall seemed to be the most logical choice).
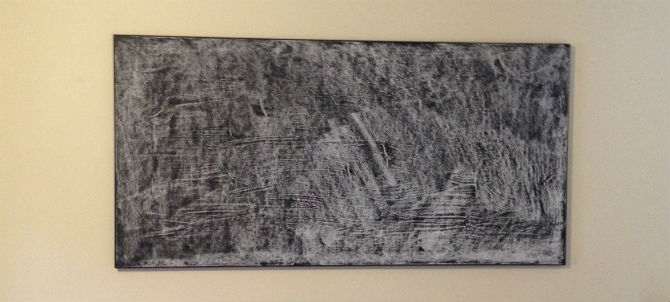
The next step was to apply a few coats of adhesive primer so that no glasses or corks appear through the chalk.
Once the primer was dry, we put on two or three coats of chalkboard paint that we rolled out as smoothly as possible. Once those dried, we waited the required three days before rubbing chalk over the entire picture to get everything integrated with the paint.
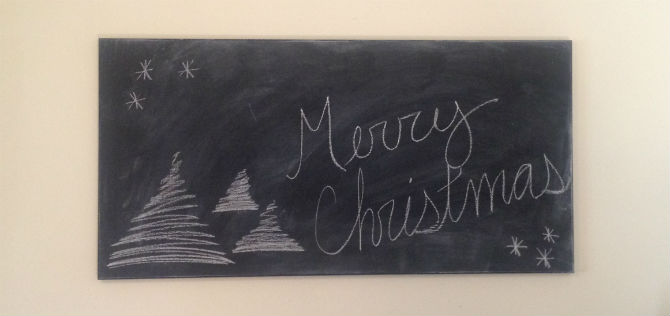
After that was set, we erased what was on there and created a nice whimsical picture for the holidays: