Converting a cooler into a mash tun
29 March 2012
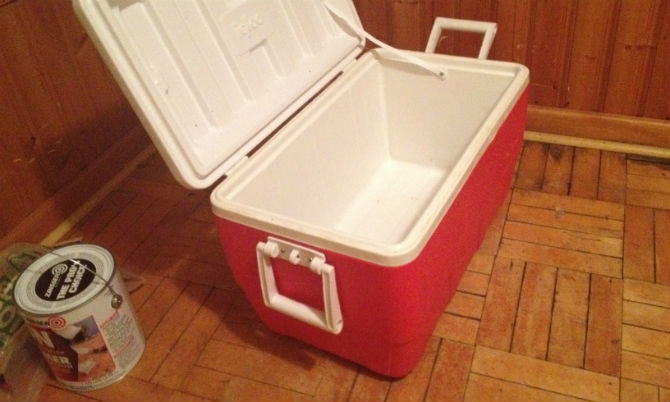
Looking around on the internet, pre-made ones can be a little expensive, but there are a bunch of people online that are just creating their own. Christi and I have two reg igloo coolers, both without spigots on them, and have always wanted to get rid of these and get ones that have a drain on the end. Since I have the cooler, and I'm a DIY type of guy, I just dove in head first.
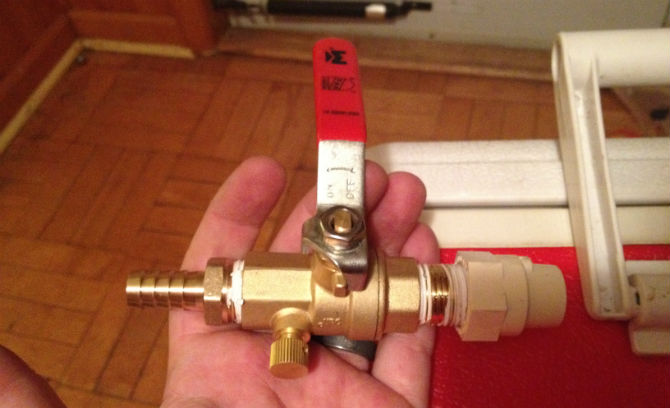
In the picture above, it goes (from left to right): Barb -> Ball Valve -> Nipple -> CPVC Adapter. Make sure when connecting everything to use some teflon tape for secure connections. To get a secure, water tight fit, I used a rubber washer for garden hoses. I knew I needed something of the sort, and in my head, this seemed to be the best fit .. and it was.
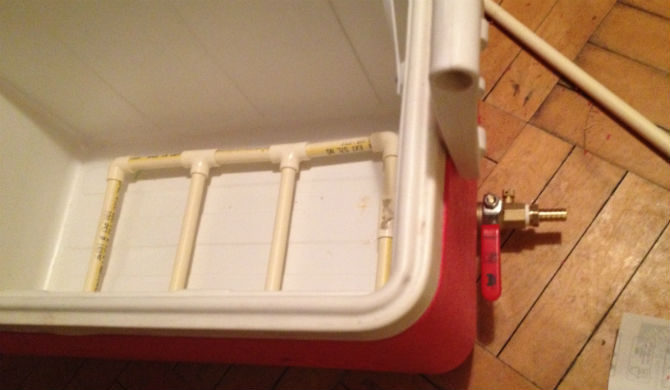
The final step was creating the CPVC structure that you see in the top picture. Basically I cut 4" sections at a time, with a Dremel drill, and then used the same drill to create all of the tiny slots in the bottom.
Once everything is assembled, the last thing to do is pray that the water doesn't leak out. Everything is always perfect in your head until you actually try it. Luckily for me, I filled up the cooler with about 130° water and it all stayed on the inside. The last modification that I need to do is add some sort of weight inside my back piece of the manifold so that it doesn't float up when water is in there.
Check it out, everything magically worked and only took a couple of hours to put together: